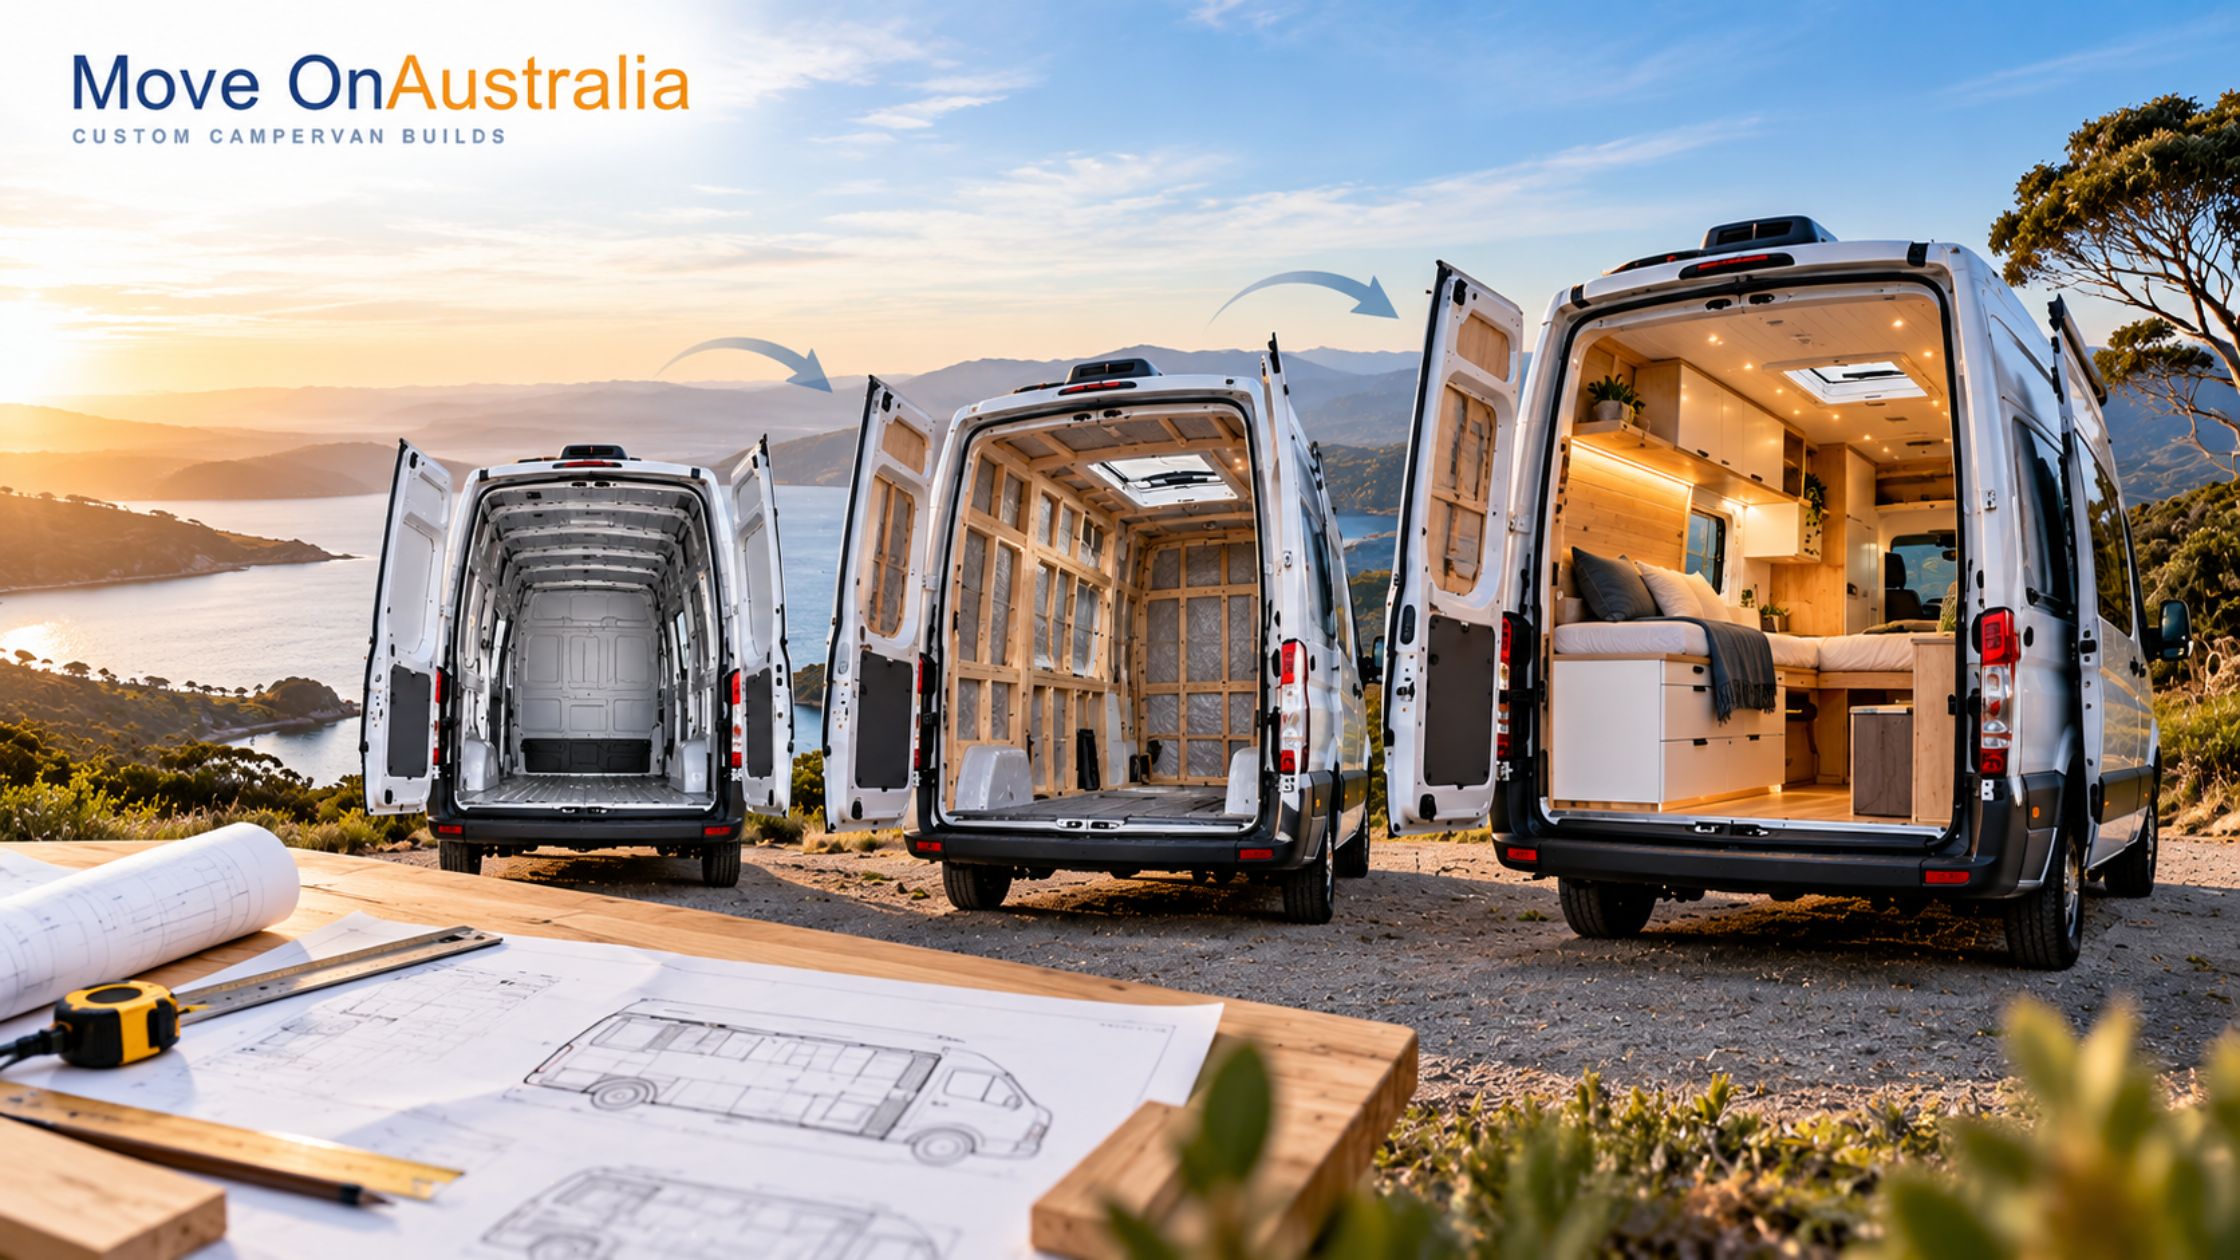
Thinking about turning a van into your dream home on wheels but not sure where to start? You’re not alone. Every week, we get asked the same question: “What actually happens during a campervan conversion?” Whether you’re planning a DIY build or you’re ready to work with professional campervan conversions Melbourne locals trust, understanding the process helps you make better decisions — and avoid costly mistakes.
Here’s exactly what goes into turning a bare van into a fully functional campervan, step by step.
Step 1: Choosing the Right Base Van
Before any conversion work begins, you need the right vehicle. This is where most builds succeed or fail long before the first panel goes in.
Popular choices among custom campervan builders in Australia include the Mercedes Sprinter, Volkswagen Crafter, Ford Transit, and Toyota Hiace. Each has trade-offs in height, payload capacity, fuel economy, and servicing costs. If you’re chasing the best van to live in Australia long-term, prioritise headroom, GVM (Gross Vehicle Mass), and parts availability over Instagram appeal.
Questions to ask at this stage:
- Will this be for weekend trips or full time living in a van?
- Do you need 4WD for remote or off-road travel?
- What’s your realistic budget for both the van and the build?
Step 2: Design and Layout Planning
This is where bespoke campervan conversion work really begins. A good builder will sit down with you to map out:
- Bed configuration (fixed, convertible, or drop-down)
- Kitchen placement and storage
- Bathroom/shower inclusion
- Seating and dining areas
- Power and water system locations
Layout decisions are permanent once building starts, so this step deserves real time. Custom campervans Australia-wide are built differently depending on whether the owner is a solo traveller, a couple, or a family — don’t copy someone else’s floor plan without checking if it suits your lifestyle.
Step 3: Electrical and Power Systems
If you want any kind of off-grid campervan hire-style freedom (running a fridge, charging devices, powering lights without a powered campsite), your electrical system is the backbone of the build.
A typical setup includes:
- Lithium battery bank
- Solar panels and MPPT controller
- DC-DC charger (charges batteries while driving)
- Inverter (for 240V appliances)
- Fuse box and wiring
This is genuinely one of the most technical parts of any conversion — it’s where hiring professional campervan conversions pays off, since faulty wiring in a moving vehicle is a real fire and safety risk.
Step 4: Insulation and Flooring
Before anything gets built on top, the van needs proper insulation (for temperature control and condensation prevention) and a solid subfloor. Skipping this step is one of the most common regrets among DIY builders — it’s much harder to fix later.
Step 5: Plumbing and Water Systems
For vans with a sink, shower, or toilet, this stage includes:
- Fresh water tank and pump
- Grey water tank
- Hot water system (optional, but common in luxury campervan conversions)
- Pipe routing and leak testing
Step 6: Furniture, Cabinetry, and Interior Build
Now the van starts looking like a campervan. This includes building or installing:
- Kitchen units and benchtop
- Bed frame and storage
- Wardrobe or cupboard space
- Seating
This is where the craftsmanship of custom campervan builders really shows — quality joinery is the difference between a build that lasts years of full-time living in a van and one that rattles apart on corrugated roads.
Step 7: Final Fit-Out and Testing
The last stage covers:
- Gas system installation (if applicable) and certification
- Final electrical testing
- Water system pressure testing
- Interior detailing and finishing touches
- Roadworthy and compliance checks
For anyone converting a Mercedes campervan in Australia, this stage often includes engineering sign-off, since GVM upgrades and habitation modules may need certification depending on your state.
DIY vs Professional: Which Should You Choose?
| Factor | DIY Conversion | Professional Build |
| Cost | Lower upfront | Higher upfront, fewer hidden costs |
| Time | Months to years | Weeks to months |
| Skill required | High (electrical, plumbing, carpentry) | None — fully managed |
| Warranty/safety | Self-responsible | Builder-backed |
| Resale value | Variable | Typically higher |
If you’re weighing up options, reading genuine campervan builders reviews is one of the best ways to compare — look for builders with transparent process photos, not just finished shots.
Not Ready to Commit? Try Before You Build
If you’re still deciding whether van life suits you, hiring a campervan for the weekend or booking an overlander campervan for a longer trip is a smart way to test the lifestyle before investing in a full custom build.
Final Thoughts
A van conversion isn’t just about looks — it’s a layered process involving design, electrical safety, plumbing, and structural work, all of which need to work together reliably on the road. Whether you’re after a simple weekend rig or a fully off-grid, full-time home, understanding this process helps you ask the right questions and set realistic expectations.
Thinking about starting your own build? Get in touch with the Move On Australia team to talk through your layout, budget, and timeline.